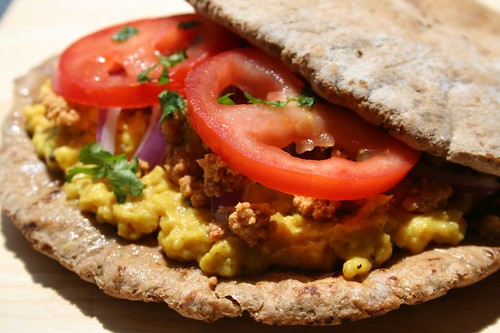
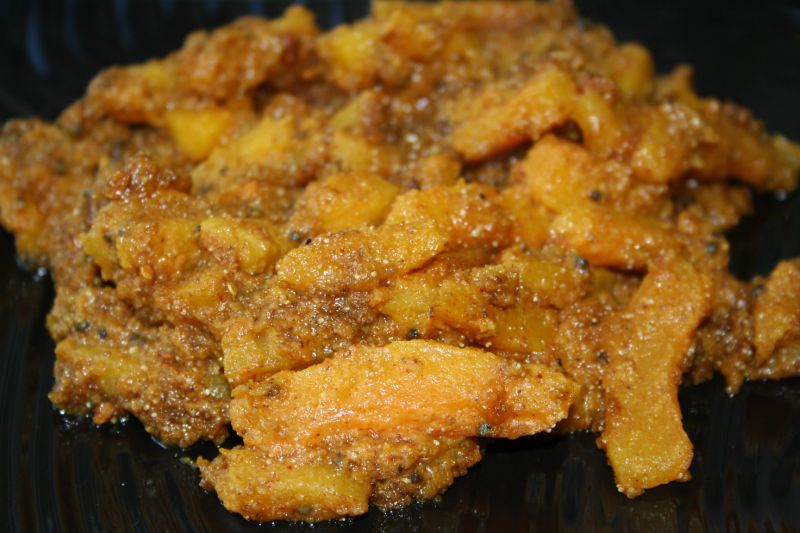
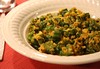
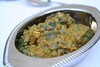
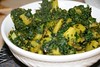
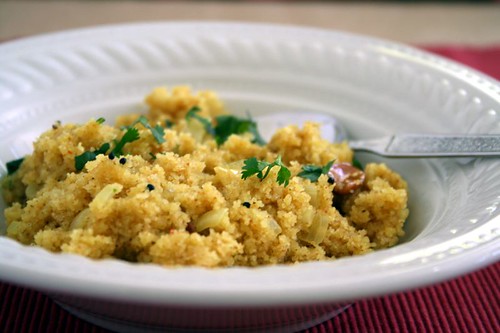
'A sanza is always yellow', is the first thing I am likely to hear when I mention yellow sanza. Yes, yes, I know that 'sanza' is yellow because it has turmeric in it, but why I started calling it so as a kid has to do with the degree of bright yellowness of the sanza that one of my Maushis made, as opposed to the one my mother made.
Before I go ahead, let me introduce Maushi M, my mother's older sister, famous for her 'aagraha'. Yup, the same force-feeding-with-love that I mentioned once before. People were known to make all kinds of excuses when they visited her - "I just had lunch", "I am on my way to dinner", and so on, but nothing worked. Her mission seemed incomplete until people left her home groaning under the amount of food she brought out.
I had many reasons to visit or stay over at her house, because her daughters were my friends and their house was minutes away from ours. So there were numerous occasions when I fell under her 'aagraha', and I have tried all ways to finagle my way out of it, with no success. She is a great cook of everyday food, but one of the things I have eaten umpteen times at her house is sanza, and she makes the best one I have ever eaten. Never lumpy or sticky, and always delicious. It was something she would make in minutes, practically in the same time that tea was prepared on the next stove, or a 'limbu sarbat' (lemonade) was stirred up if it was a hot afternoon.
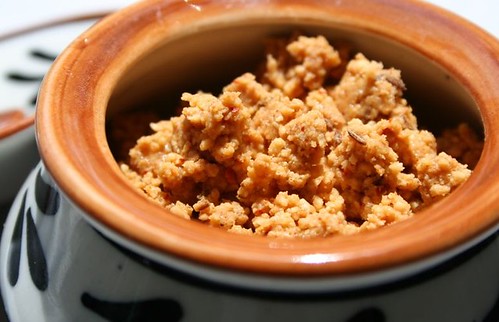
After I left home and started cooking, I asked my mother to get me her recipe, with no secrets withheld. One of those secrets was that she always kept a jar of roasted rawa ready, so that she could conjure up the sanza anytime. I still have the original copy of the recipe, even though I do not need it anymore because I know it so well by now, and have always meant to convert it to standard measurements and translate it, but never got around to doing that. Here it is.
Ingredients1 cup of coarse rawa (semolina or farina)
1 small yellow onion
2-3 Tablespoons oil
3-4 Tablespoons of peanuts (or as much as you like)
1/4 teaspoon mustard seeds
pinch of hing (asafoetida)
1/4 teaspoon turmeric (or a little more if the turmeric is pale)
8-10 curry leaves
1-1/2 teaspoons salt (or to taste)
1 teaspoon chili powder
1 teaspoon sugar
some chopped cilantro, grated coconut, and wedges of lemon or lime for serving
MethodPour the rawa into a deep skillet, and roast on medium high heat until it gets evenly golden brown in color and keep it aside to cool. This roughly takes 5-10 minutes.
Dice the onion. Heat the oil in a kadhai or wok. When it gets hot, fry the peanuts in it, and remove them with a slotted spoon to a small bowl.
Let the temperature of the oil come down a little, and then add the mustard seeds (they will pop right away since the oil is hot), hing, turmeric, curry leaves and onion. Saute it for a few minutes until the onion softens, and add 2 cups of water.
When the water comes to a boil, add the salt and chili powder. Start adding in the roasted rawa in a steady stream with one hand, while stirring it together with the other. Reduce the heat, add sugar and fried peanuts and stir through completely until the rawa has absorbed all the water. [At this point, the original recipe says to take a teaspoon of oil and drizzle it around the edge of the pan, but I don't do that.] Serve it right away, with a little bit of cilantro and coconut on top and a wedge of lemon or lime on the side.
Is it like Upma?In terms of technique, it is very similar to its famous sibling 'upma', and is usually eaten for breakfast, or at tea time in Maharashtra, but I'll keep the spotlight on the lesser known one in this post. The seasoning is different, and naturally, so is the taste. It is also not as moist as upma, in fact in a good sanza the grains of rawa can be well separated, though they don't have to be. I have also rarely encountered any vegetables other than an occasional potato in a sanza, unlike upma which ranges from plain to additions of vegetables and cashews.
Adaptation with QuinoaIf you have read my posts until now, you know I cannot resist twists on ingredients and techniques. I had always wanted to try Quinoa for a long time, for its high nutrition value and protein content, but only when I read about
how to cook Quinoa on
the-cooker's blog, I knew that I could try giving it the sanza treatment. It worked out very well. '
The Cooker', thank you for those pictures and information!
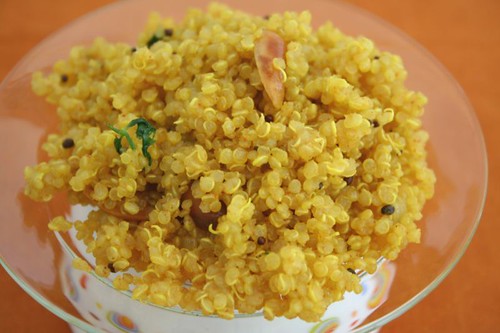
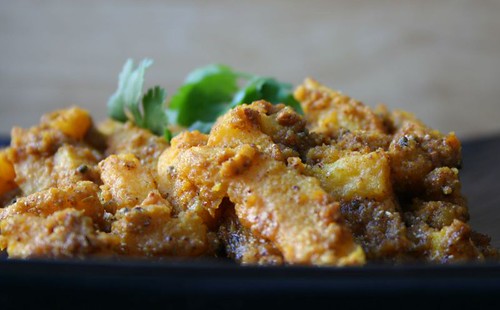
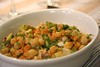
I used the above sanza recipe as it is, but there was no need to roast the grains beforehand. After the water started boiling and spices were added, I stirred in the quinoa, turned down the heat and cooked everything for roughly 10-15 minutes, and added the sugar and peanuts at the end. By then, the grains absorbed all the water, and the germ ring was visible too!
At this point, it is actually hard to decide which one I like better. The original will always remain a favorite, no doubt, but the quinoa version will not be left behind either, especially when a good protein boost is needed.